This vegetarian pressure cooker pasta recipe checks all the boxes for convenience cooking, feeding a crowd, or meal prepping.
Estimated reading time: 5 minutes
Jump to:
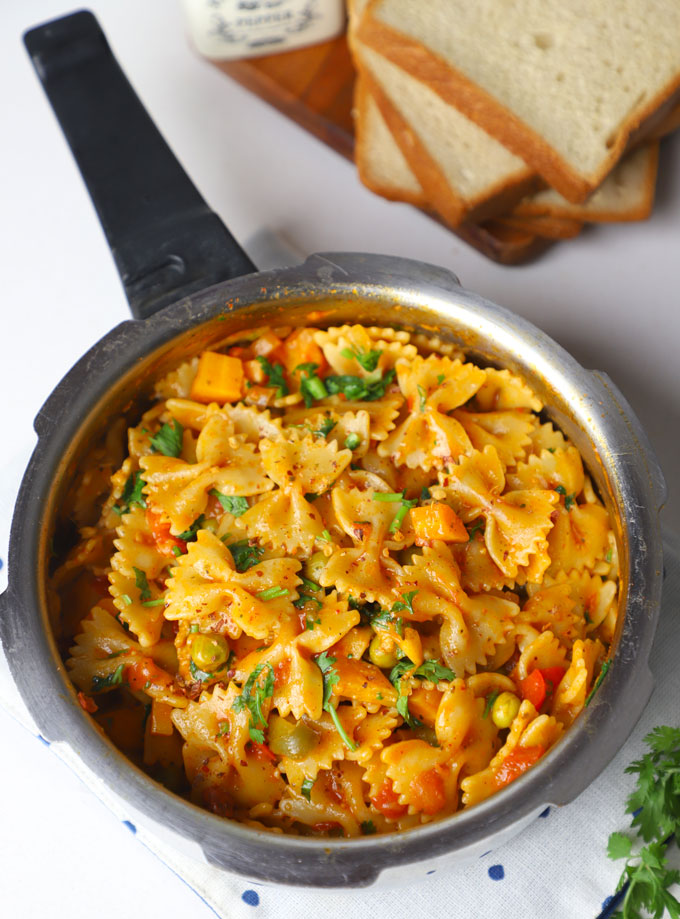
Cooking pasta in a pressure cooker might feel unconventional at first, but it’s a method that quickly proves its worth. This vegetarian pressure cooker pasta is a wholesome, delicious meal with minimal effort and cleanup.
It combines hearty vegetables, a robust tomato sauce, and your favourite pasta for a satisfying vegetarian meal that’s ready in no time.
Why Use a Pressure Cooker for Pasta?
Using a pressure cooker for pasta has several advantages:
- Time Efficient: Pressure Cooker significantly reduces cooking time significantly.
- Minimal Cleanup: One pot means you’ll have fewer dishes to clean.
- Family-Friendly: It’s a crowd-pleaser perfect for large gatherings.
- Customizable: This pasta recipe is highly adaptable. Swap out vegetables based on what’s in season or what you have on hand.
- Perfect Texture: With the right settings, you can achieve perfectly cooked pasta every time.
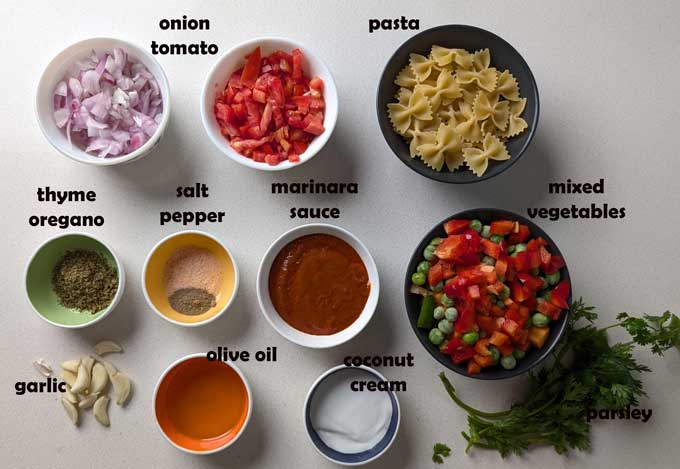
Ingredients You’ll Need
- Penne, Farfalle or Fusilli works best for this pasta recipe. Avoid using delicate pasta for pressure cooking.
- Vegetables that cook easily like onion, zucchini, carrot, mushrooms, tomato, green peas, and bell peppers.
- Tomato Sauce like marinara, arabiatta, or even canned crushed tomatoes are good enough.
- Vegetable Stock is my choice of cooking liquid. Feel free to use water combined with stock powder.
- Coconut Cream is my favourite ingredient for that creamy texture without increasing too many calories. Substitute it with a splash of cooking cream, cashew butter, or Parmesan or grated cheese.
- For Cooking use either light olive oil, avocado oil, or butter. I skipped butter because this is a vegan recipe.
- Seasoning: Oregano, Chilli Flakes, Thyme, Minced Garlic, Salt and Pepper
- Greens like parsley or Italian basil for the breath of freshness.
How To Make Cooker Pasta
1. Sauté the Base
- Set your pressure cooker to the sauté mode and heat the olive oil.
- Add the chopped onion, thyme, and garlic, sauté for 2 minutes until fragrant and translucent.
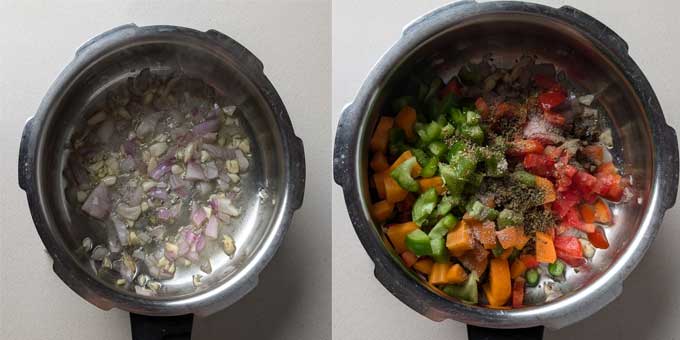
- Toss in the vegetables. Sauté for another 2 – 3 minutes until the vegetables start to soften.
2. Add Liquids and Pasta
- Pour in the tomato sauce, vegetable broth, and water. Stir to combine.
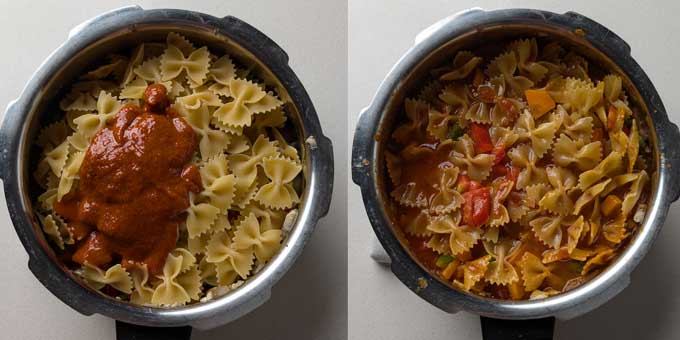
- Add the uncooked pasta, ensuring it is submerged in the liquid. Avoid stirring too much.
3. Pressure Cook
- Secure the lid of your pressure cooker and set the valve to the sealing position. I use my stovetop Indian style pressure cooker.
- For stovetop cook it for one whistle over medium heat.
- For electric or instant pot, pressure cook for 5 minutes.
- Once the timer goes off, perform a quick release by carefully turning the valve or whistle to the venting position. Wait until the steam is fully released before opening the lid.
4. Final Touches
- Open the lid and stir the pasta gently. Add coconut cream, and finely chopped parsley. This is the stage to stir in greens like spinach, grated cheese or Parmesan. Stir to combine.
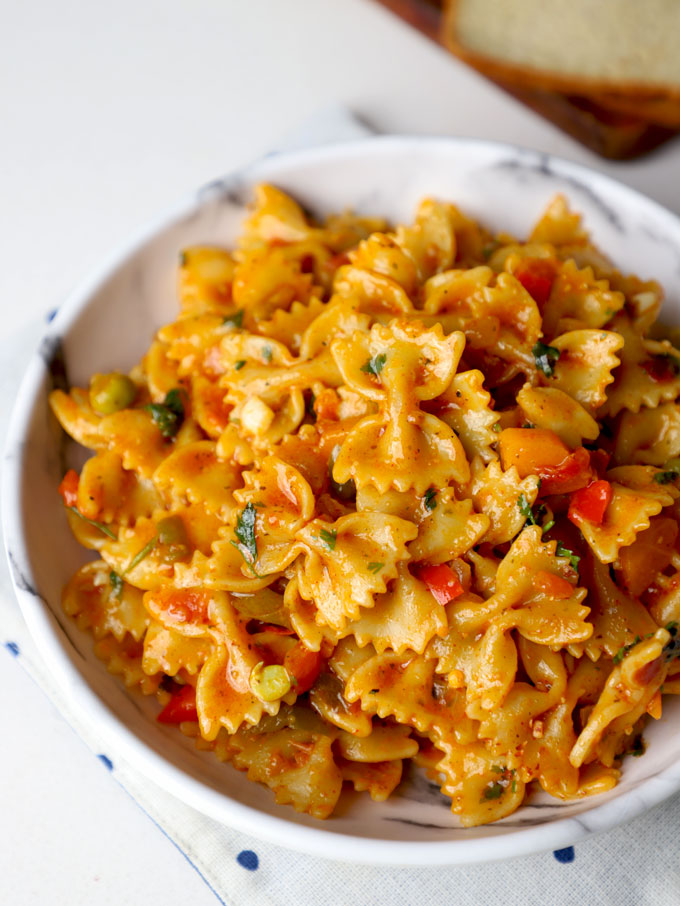
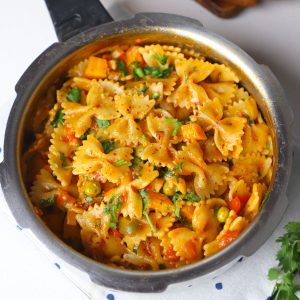
Pressure Cooker Pasta is ready to serve!
Serving Suggestion
This vegetarian pressure cooker pasta is a complete meal on its own, but if you are in a mood for a more elaborate meal pair it with:
- Garlic bread or crusty artisan bread
- A crisp green salad like roasted fig salad or the orange salad with a light vinaigrette
- A side of roasted vegetables like air fryer green beans or broccoli or potatoes for extra nutrition
My Tried and True Tips
- Choose the Right Pasta: Short, sturdy pasta shapes like penne, fusilli, farfalle, macaroni, shells, and rigatoni work best in pressure cooker recipes. Avoid delicate pasta types like angel hair, ravioli, which can become mushy.
- Adjust the Liquid: The amount of liquid needed may vary depending on the pasta type. The rule of thumb is to ensure the pasta is just submerged but not overly soupy.
- Quick Release: Performing a quick release is essential to prevent overcooking the pasta.
- Add Greens and Cream Last: If you’d like to include leafy greens like spinach or kale or basil, stir them in after pressure cooking. The residual heat will wilt them perfectly without making the greens black and bitter. Similarly, do not pressure cook coconut cream or cheese, add them once pasta is cooked.
- Boost the Protein: For added protein, include chickpeas, lentils, or cubed tofu.
More Pasta Recipes
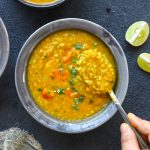
- Pasta Soup
- Basil Pesto Pasta
- Fusilli Pasta Caprese
- Greek Orzo Pasta Salad
- Garlic Mushroom Pasta
- Pasta with Cherry Tomato
- Classic Tomato Sauce Pasta
follow us on Youtube and Instagram for video recipes.
Pressure Cooker Pasta Recipe
Ingredients
- 2 Cup farfalle pasta (uncooked)
- 1 tablespoon light olive oil
- ½ tablespoon minced garlic
- 1 teaspoon thyme
- 1 small size onion, finely chopped
- 1 small size tomato, chopped
- 1 Cup mixed vegetables (carrot, peas, zucchini)
- ¼ cup red bell pepper, finely chopped
- 6 mushrooms, chopped
- ¼ Cup marinara sauce
- 1 ½ Cup vegetable stock (get recipe)
- 1 teaspoon oregano
- Salt to taste
- 2 tablespoon coconut cream
- handful of parsley, finely chopped
Instructions
- Heat olive oil in pressure cooker.
- Add the chopped onion, thyme, and garlic, sauté for 2 minutes until fragrant and translucent.
- Toss in the vegetables. Sauté for another 2 – 3 minutes until the vegetables start to soften.
- Pour in the tomato sauce, vegetable broth, and water. Stir to combine.
- Add the uncooked pasta, ensuring it is submerged in the liquid. Avoid stirring too much.
- Secure the lid of your pressure cooker and set the valve to the sealing position. I use my stovetop Indian style pressure cooker.
- For stovetop cook it for one whistle over medium heat.
- Once the timer goes off, perform a quick release by carefully turning the valve or whistle to the venting position. Wait until the steam is fully released before opening the lid.
Recipe Notes:
-
- Store any leftovers in an airtight container in the refrigerator for up to 3 days.
- Reheat in the microwave or on the stovetop with a splash of water, coconut cream, or broth to loosen the sauce.
- This dish also freezes well. Portion it into freezer-safe containers and freeze for up to 2 months.

Leave Your Rating & Comment